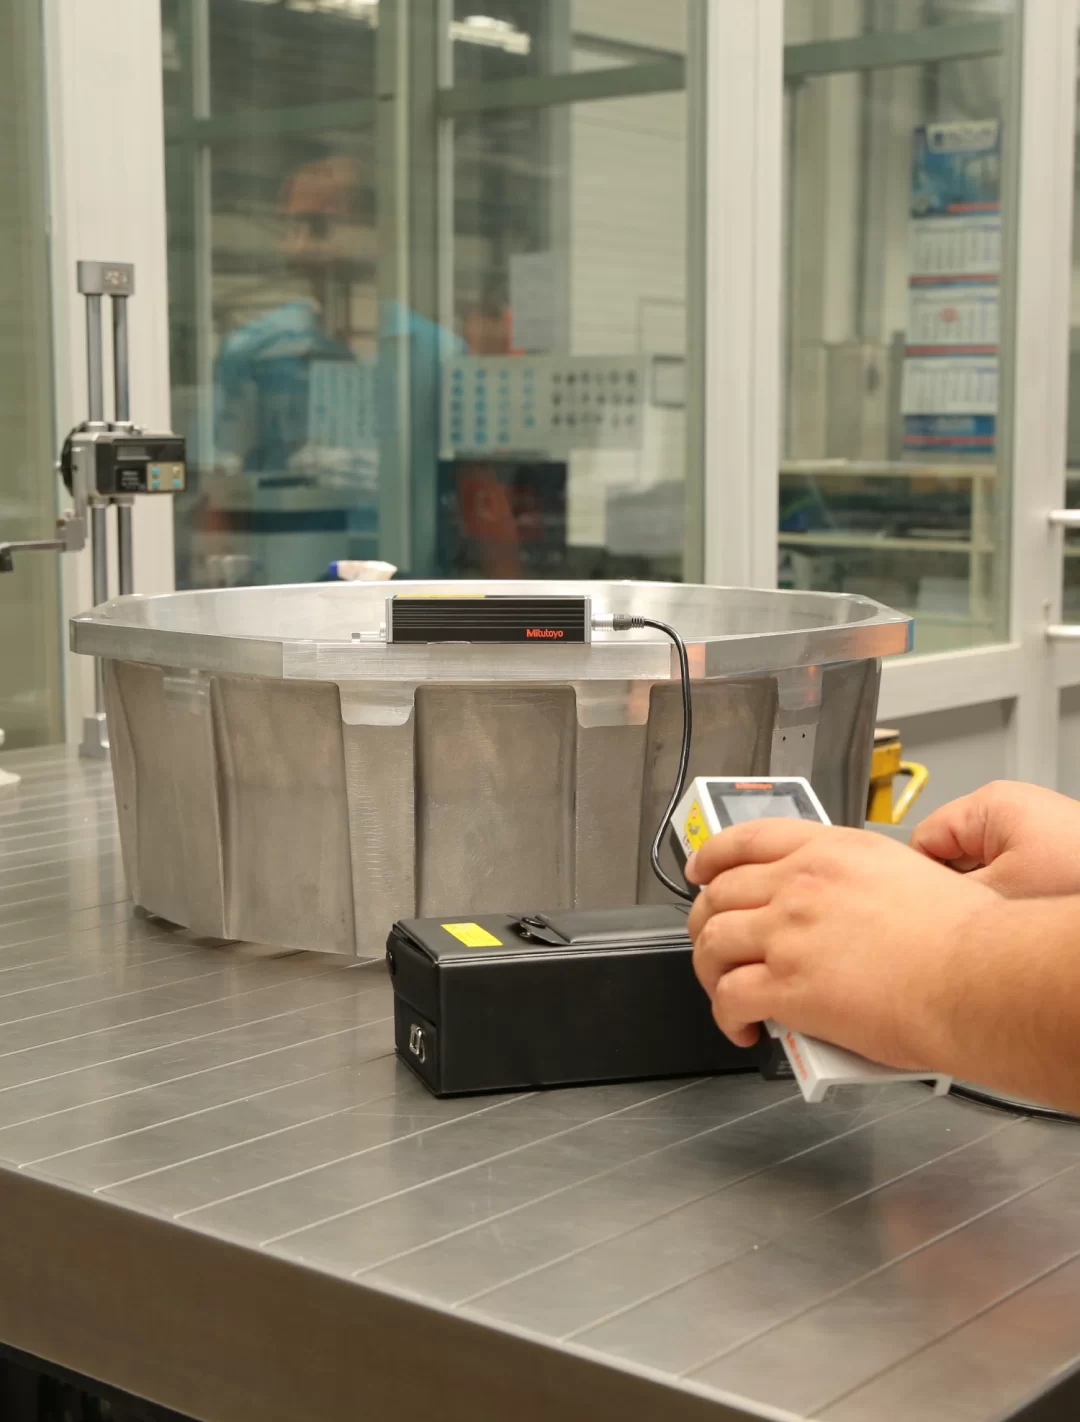
Quality control processes are applied to determine whether the product obtained by casting is suitable for its purpose, to ensure continuity and to determine the separation of faulty products. If we examine quality control in three stages:
- Models with casting metals, control of mold and core parts
- Preparation of mold and core parts, mold design, core design, mold closing, metal or alloy melting, casting and processing control.
- After the cast parts are removed from the mold, the control of situations such as gap, leakage, segregation, shape, correctness of dimensions, determination of the physical and chemical properties of the part
When the quality control of the cast parts is done errors, such as the formation of With the technology and professional team that will prevent these situations, all errors are reduced to zero and presented to the user.
Alloy Controls
Chemical analysis control of the samples taken from the quarries is made with the Spectral Analyzer and recorded.
Size Control
With the 25*12*10 LK NIKON brand CMM, 2 µm precision measurements are made and recorded for the parts in the range of 0-2600 mm. With the GOM ATOS 5 brand dimensional measuring device, the measurement controls of the parts that cannot be made with a CMM are made and recorded.
Non-Destructive Testing (NDT)
- Radiographic Examination (X-ray)
The internal structure of the parts is controlled by Zeiss Bosello 70x120 CT device and evaluated by expert teams.
- Liquid Penetrant Inspection (PT)
Post-processing is carried out with the aim of detecting open defects on the surface.
Tensile Test
Tensile tests are carried out with the device with a compression tensile capacity of 5 tons.
Hardness Test
It is made with a digital hardness tester.
Leakage Test
Leakage test up to 24 bar is performed on requested parts.


